Materials:
Cat Net
4mm Dowels
Wood lists
Cat Net
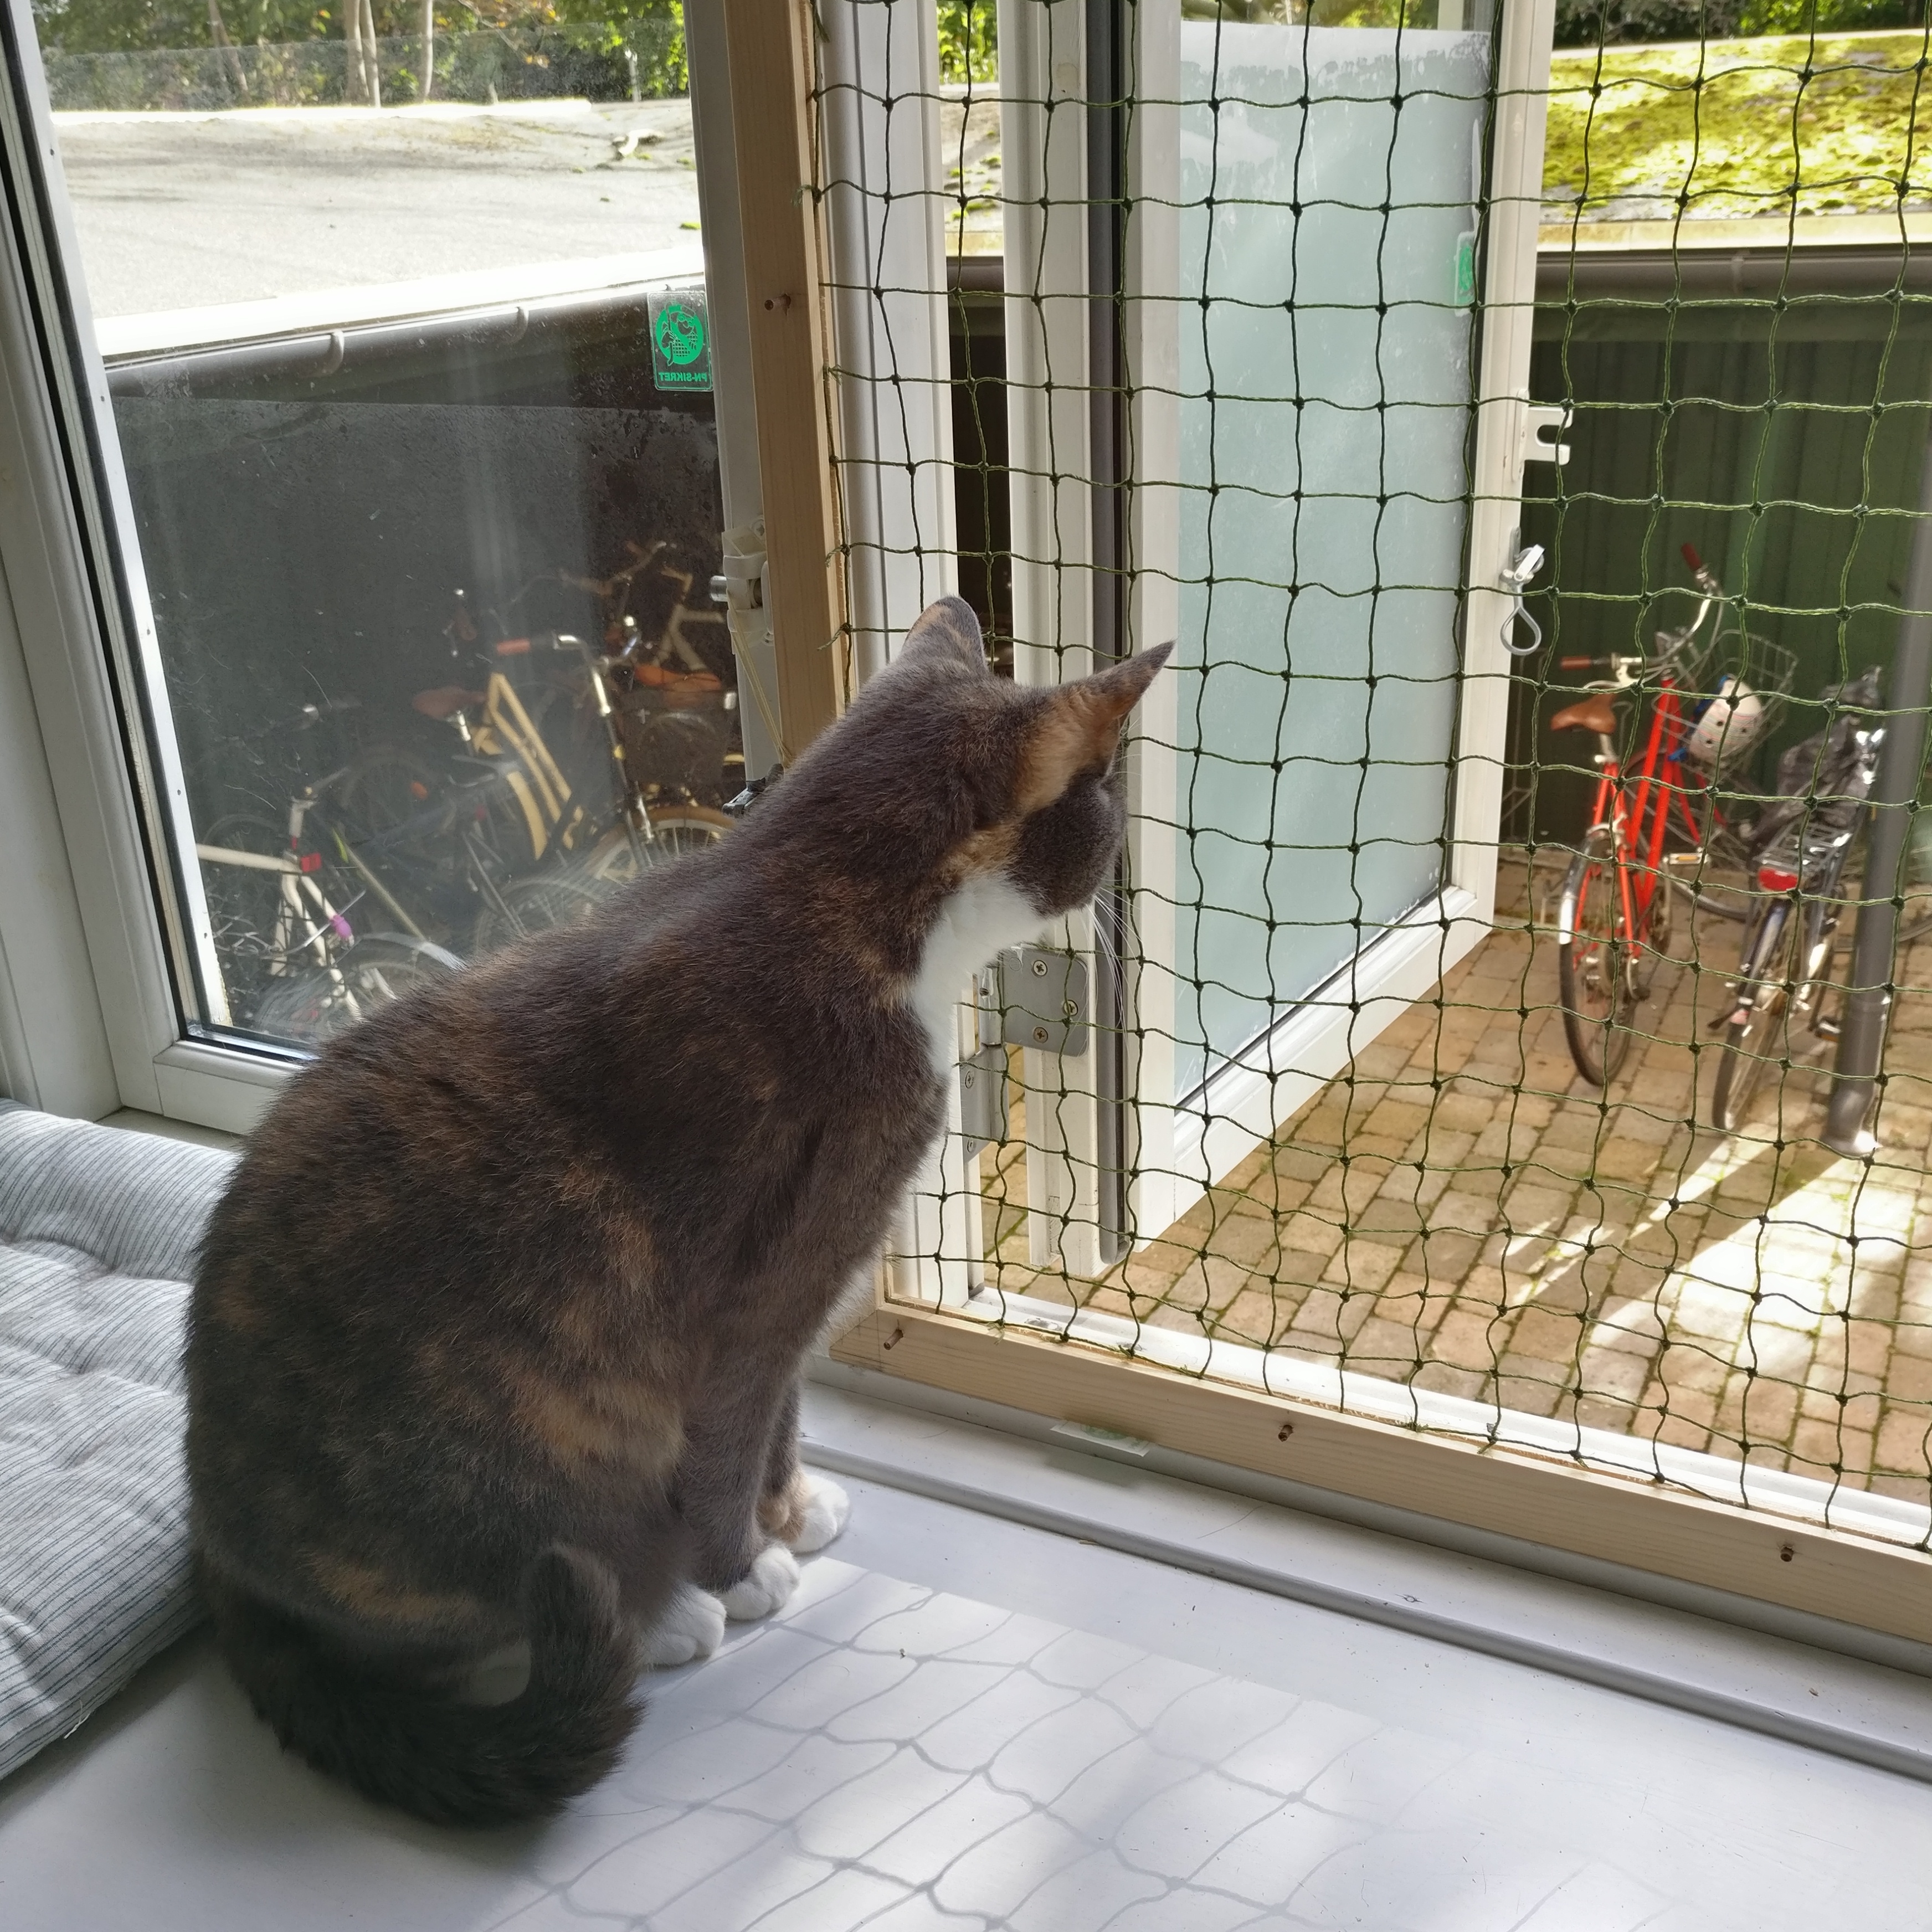
Since getting our cat it’s been difficult to air out the bedroom as she loves to sit in the windows, looking at the world from there.
I came up with the solution to build a moveable net that fits our windows so we are sure she stays in while the windows can be opened.
Building the frame
The frame consists of four pieces of wood trim cut to length and mitered to fit together.
I used my Dremel to route out a path through each piece of wood before trimming them to length an adding the miter.
After this, I made sure the corners were square and drilled a hole through the two parts to add a small piece of dowel.
I glued the two pieces and the dowel and joined them before letting it all dry and then repeated the process on the next of the four corners.
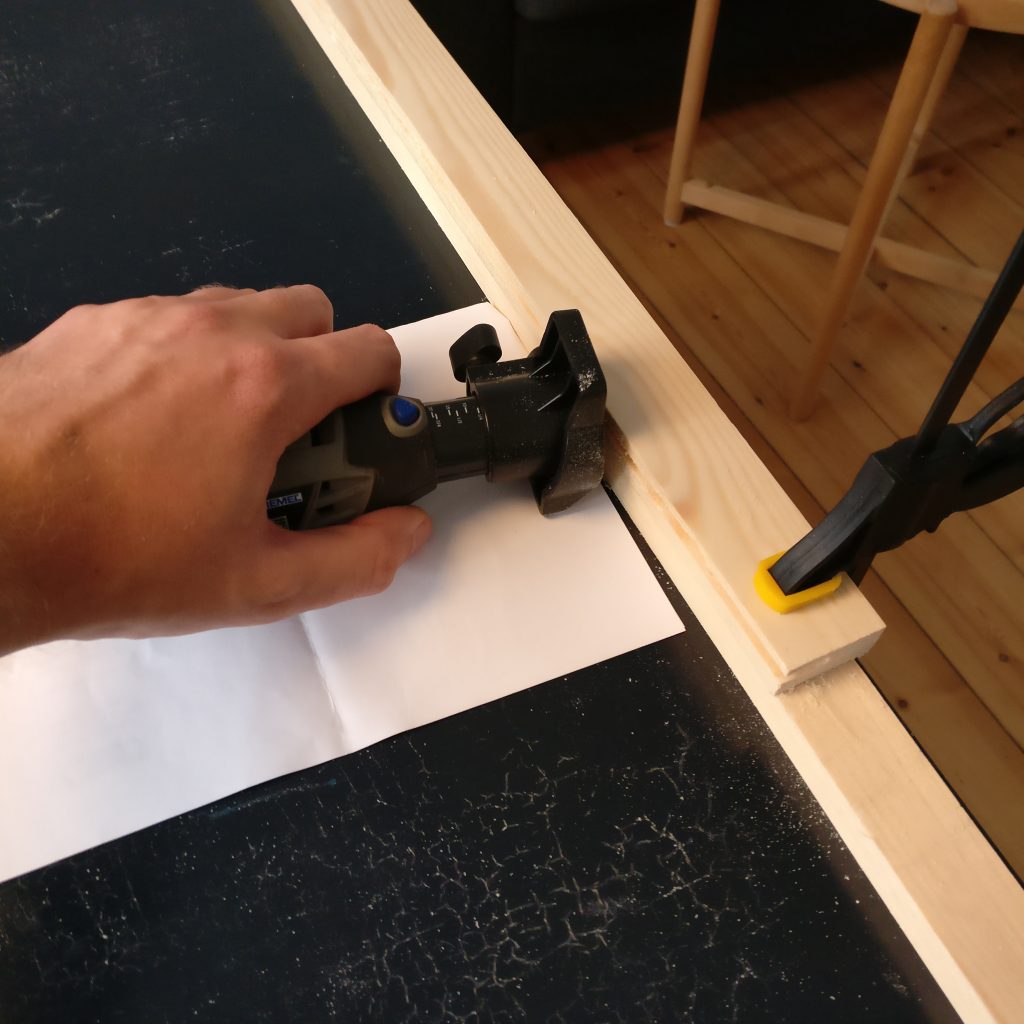
Routing the slot for the net 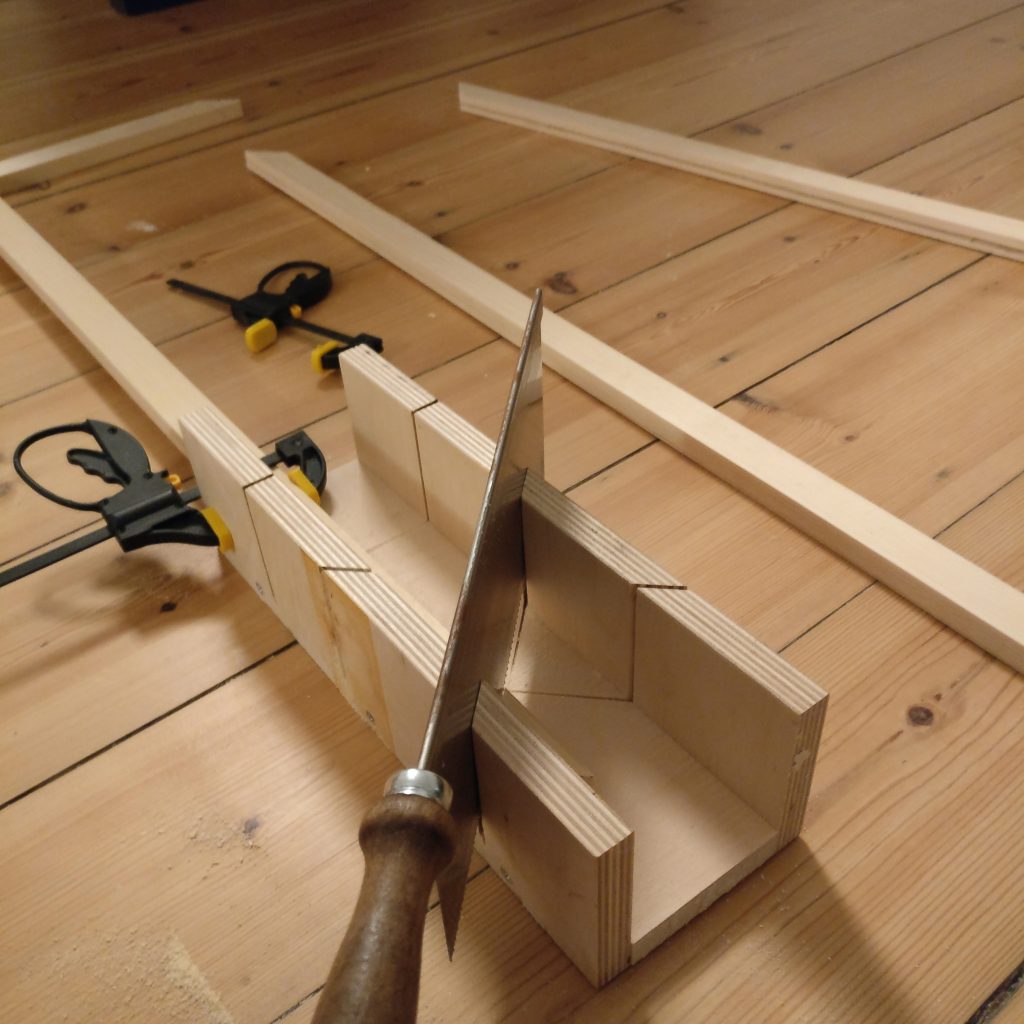
Cutting the frame 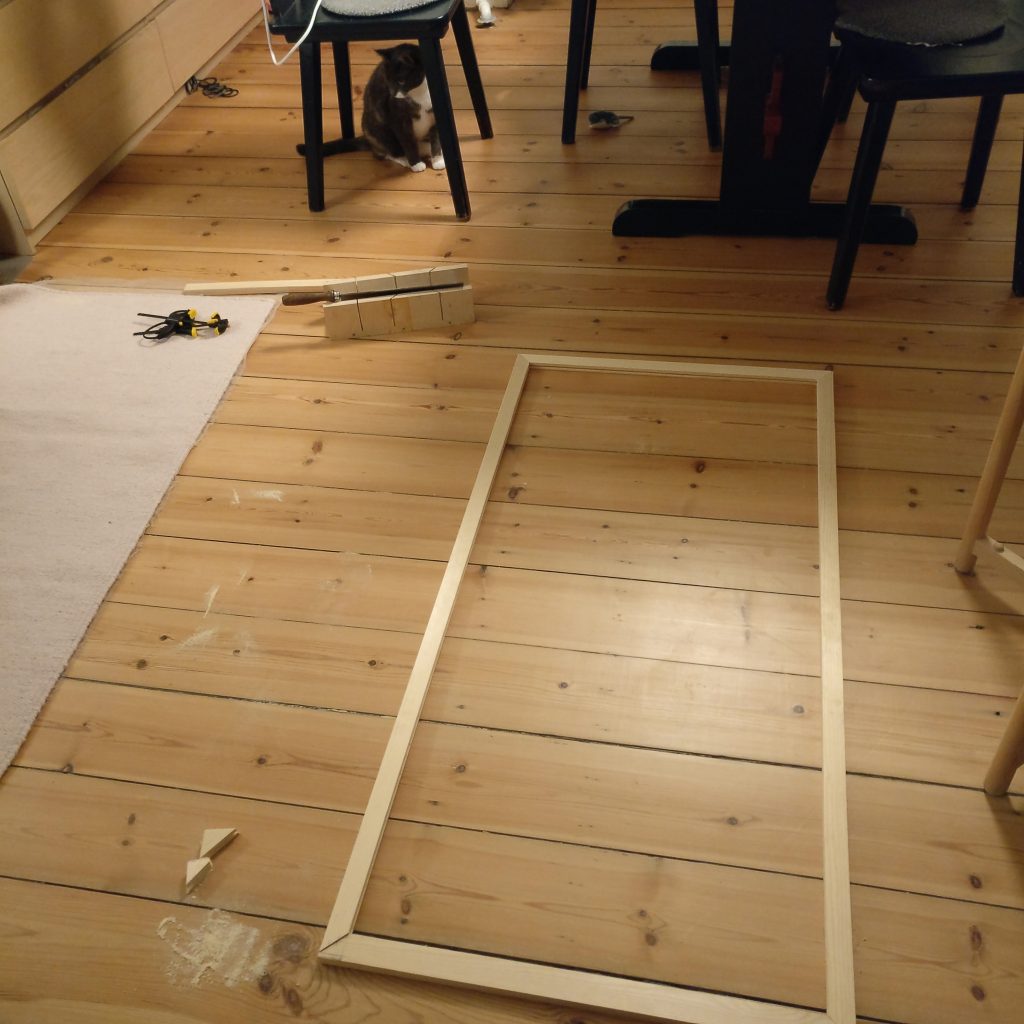
Getting it all to size 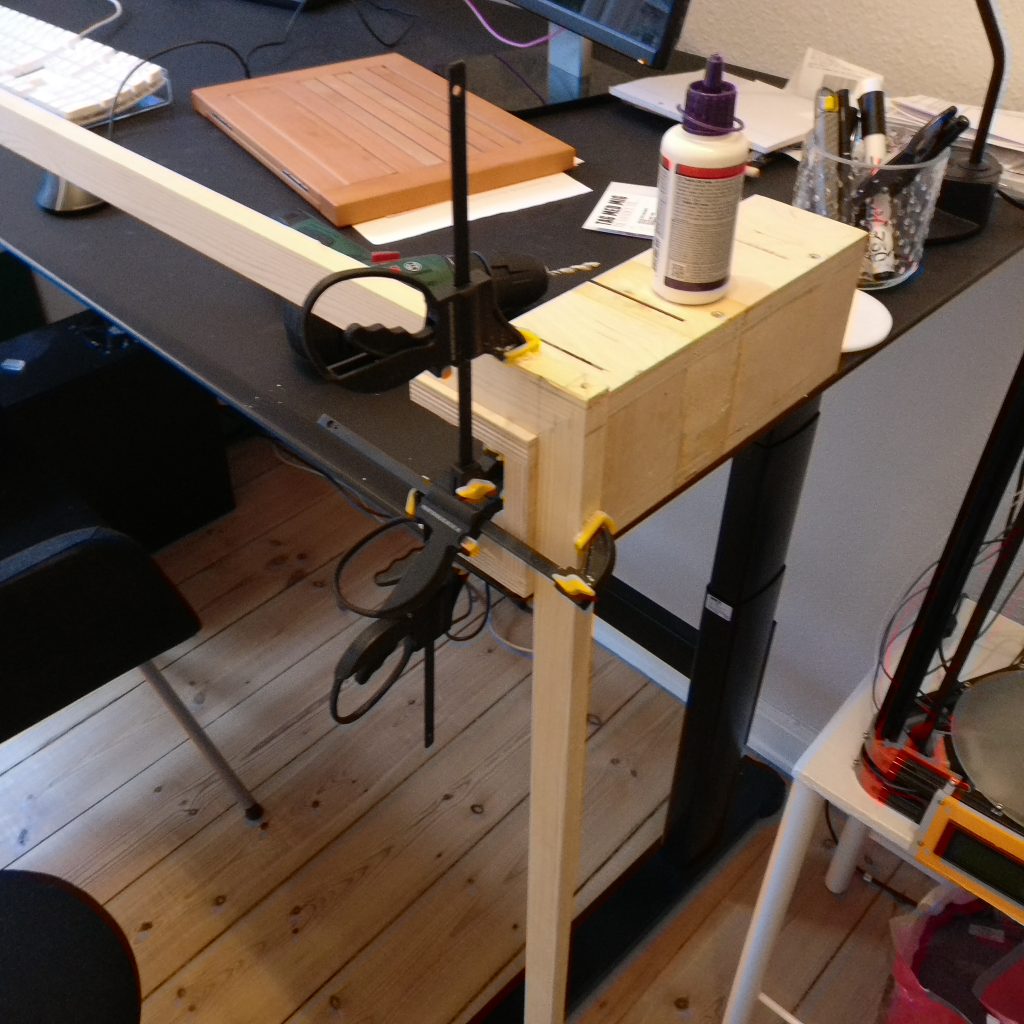
Gluing the frame
Attaching the net
For the net I ordered special “pet net” a plastic net reinforced with small metal wires, which proved its worth very quickly as she tried to bite throught the net as soon as I put up the finished frame.
The net came much bigger than I needed, so I laid it over the finished frame and cut it to size.
I had decided to not use any hardware in the project, so to attach the net to the frame I divided the number of masks in the net in each direction and figured out a reasonable amount of attachement points.
I drilled holes in the frame, inserted the net into the slots and secured them using small pieces of the wood dowel. For now the dowels seem to be strong enough but I might exchange these for leftover brass tubing instead if I need to increase the strength.
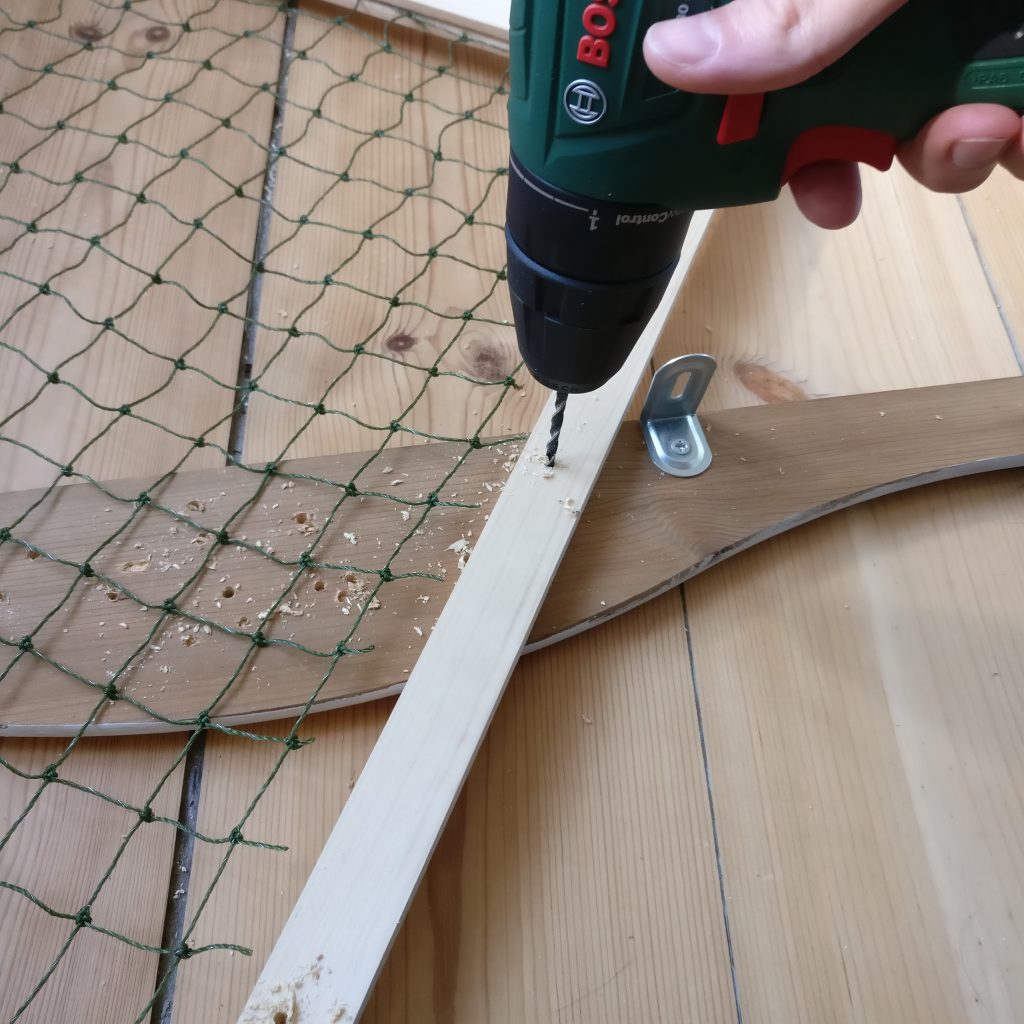
Drilling holes for the dowels 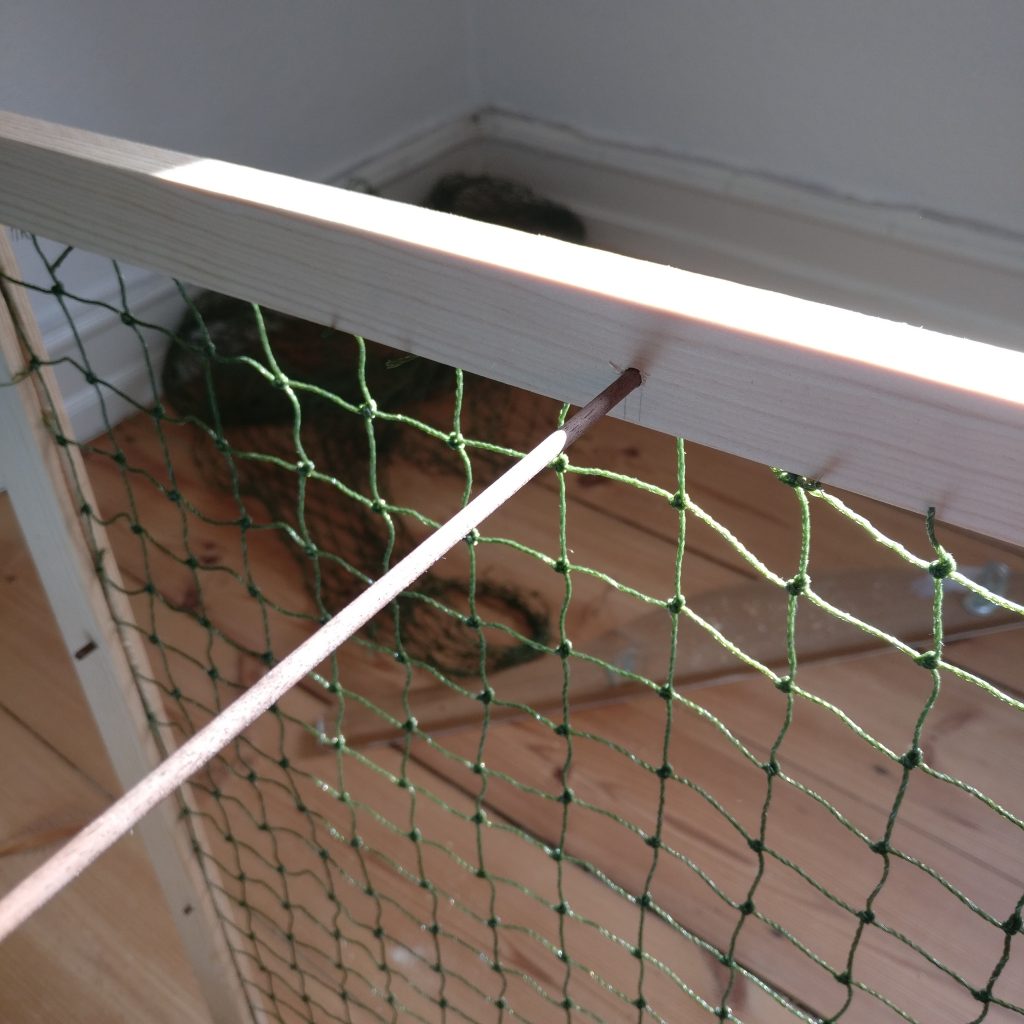
Inserting dowels to hold the net
Mounting the frame
To make sure the frame doesn’t move when it’s installed on the window, I was planning to use some small metal L-hooks but decided to not damage the window frame and instead opted to use rubber bands to hold the frame against the window.
The rubber bands attaches between the dowels that secures the net and some of the hasps already on the window frame.

Enjoying the view and sounds 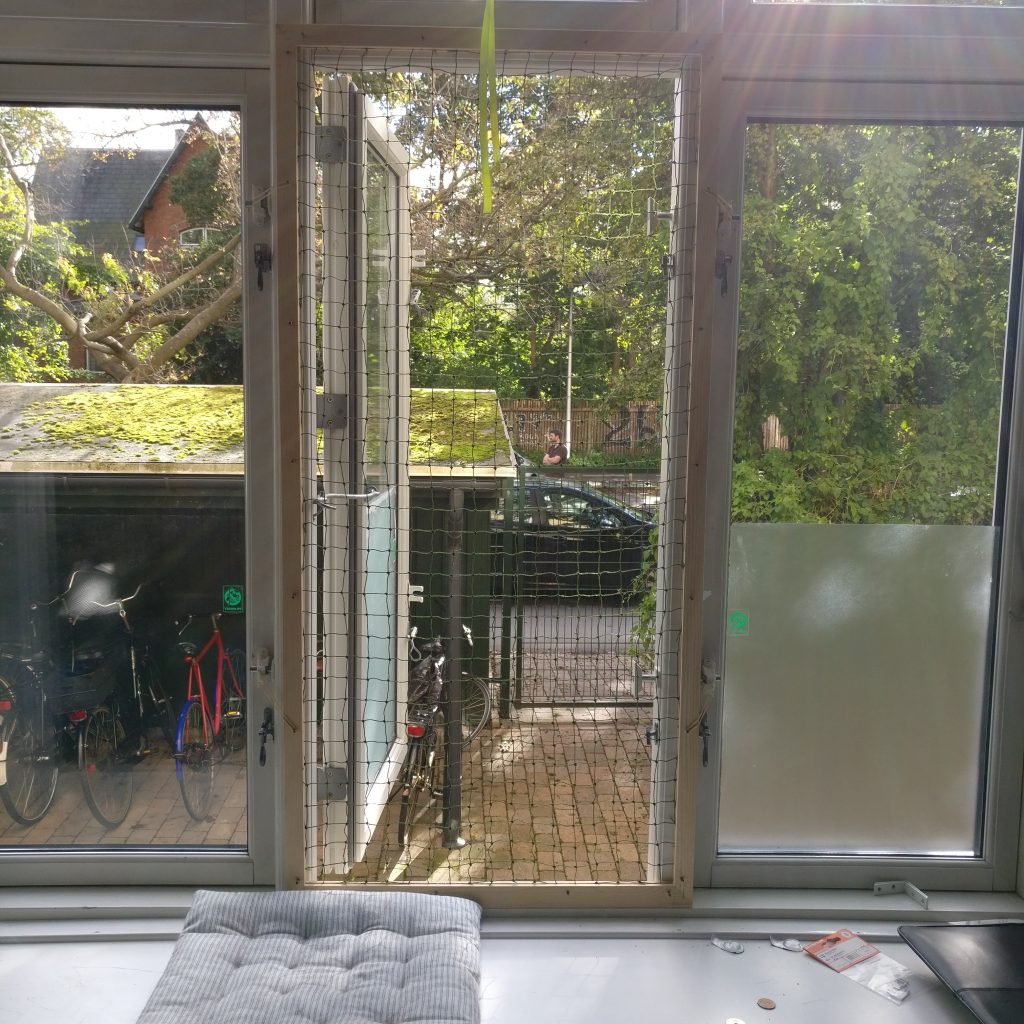
Getting in that air!